Accessing DNS Management
To manage the DNS settings for your domain in Nubius CloudShield, follow these steps:
-
Log in to the Nubius Customer Portal.
-
Navigate to Services → My Services.
-
Select your Nubius CloudShield service.
-
Click Manage Cloudflare for the domain you want to manage.
-
Go to the DNS Tab.
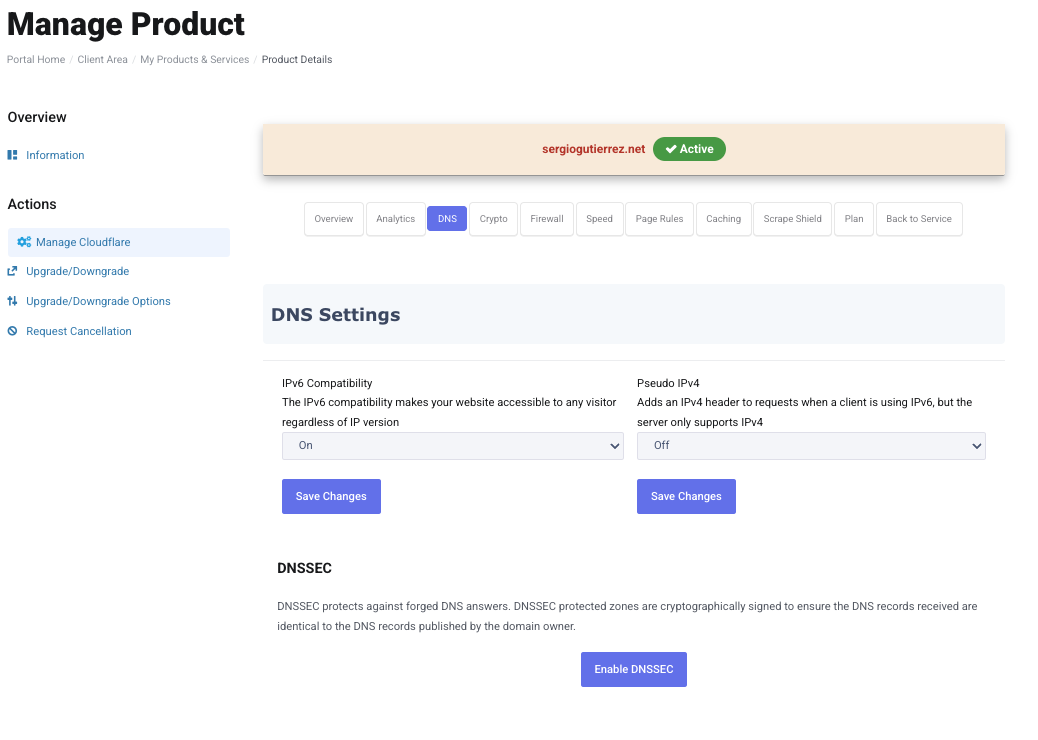
DNS Configuration Options
Inside the DNS Tab, you will find several options:
1. IPv6 Compatibility
-
Enables IPv6 support, allowing your domain to be accessible over IPv6 networks.
-
Recommended if your hosting provider supports IPv6.
2. Pseudo IPv4
-
Converts IPv6 traffic into IPv4 traffic for compatibility.
-
Options include:
-
Off – No conversion.
-
Add Header – Adds an HTTP header with the original IPv6 address.
-
Overwrite Header – Replaces the original IPv6 address with an IPv4 address.
-

3. DNSSEC (Domain Name System Security Extensions)
-
Enhances DNS security by preventing DNS spoofing and cache poisoning.
-
If enabled, Cloudflare will generate DS (Delegation Signer) records, which must be added to your domain’s registrar settings.
-
Some registrars allow automatic DNSSEC configuration, while others require manual input of DS records.
For detailed DNSSEC setup instructions, refer to Cloudflare DNSSEC Documentation.
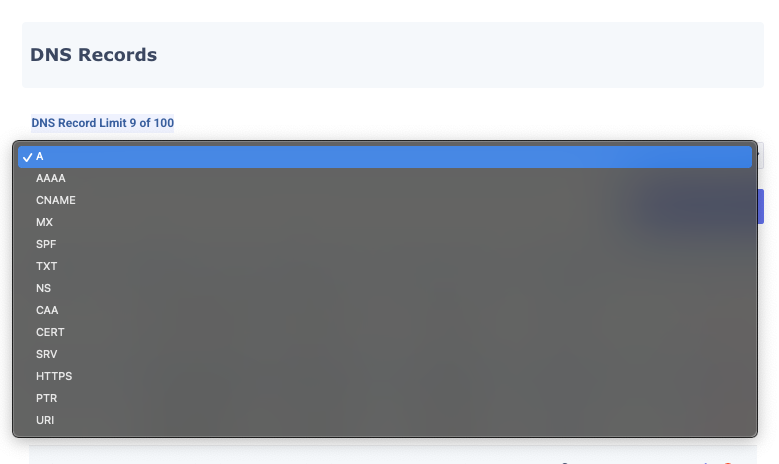
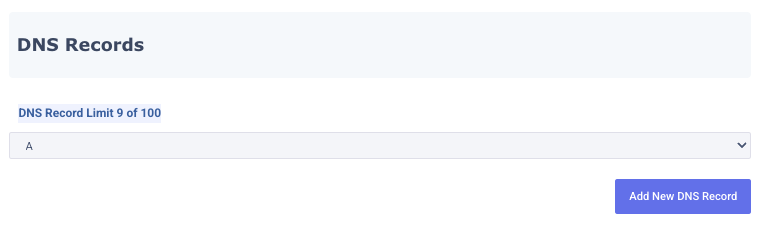
Managing DNS Records
At the bottom of the DNS Tab, you will find your DNS Records List.
Adding a New DNS Record
-
Select the record type from the dropdown list.
-
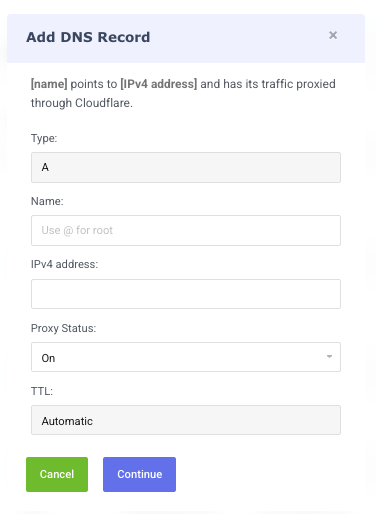
Click Add DNS Record.
-
A window will open where you need to enter:
-
Name: Use @ for root-level records (no subdomain) or specify a subdomain.
-
Value: Enter the corresponding value based on the record type (IP address for A records, CNAME targets, etc.).
-
Proxy Status (For A & CNAME records):
-
On (Proxied) – Routes traffic through Cloudflare, improving security and performance.
-
Off (DNS Only) – Directly resolves to the provided IP address.
-
-
Note: Enabling proxy mode may require additional configurations on your website to ensure compatibility.
-
Click Continue to save the record.
-
Propagation Time: Changes usually take effect within a few minutes but can take 10 minutes to 24-48 hoursdepending on ISP caching and location.
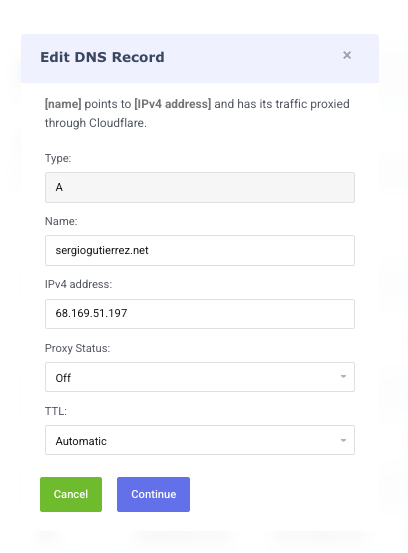
Editing an Existing DNS Record
-
Click the pencil icon next to a record to modify it.
-
Update the necessary fields and click Continue to save.
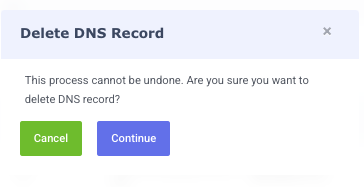
Deleting a DNS Record
-
Click the X button next to a record to remove it.
-
Confirm the deletion when prompted.
Final Notes
-
Always verify your DNS changes after updating records.
-
If you need further assistance, contact Support via the Nubius Customer Portal or send an email to support@support.nubius.io
For additional details on DNS management, visit Cloudflare’s Official Documentation.
