This guide explains the process of purchasing NordVPN through the Nubius Solutions customer portal and how to configure and use it after activation.
Part 1: Ordering NordVPN
-
Go to the Nubius Solutions NordVPN direct page https://portal.nubius.io/store/nordvpn
-
Or Access the store at https://portal.nubius.io
-
If you are not logged in, go to Products.
-
If you are logged in, go to Store.
-
-
Select VPN Services
From the store menu, choose VPN. -
Choose your plan
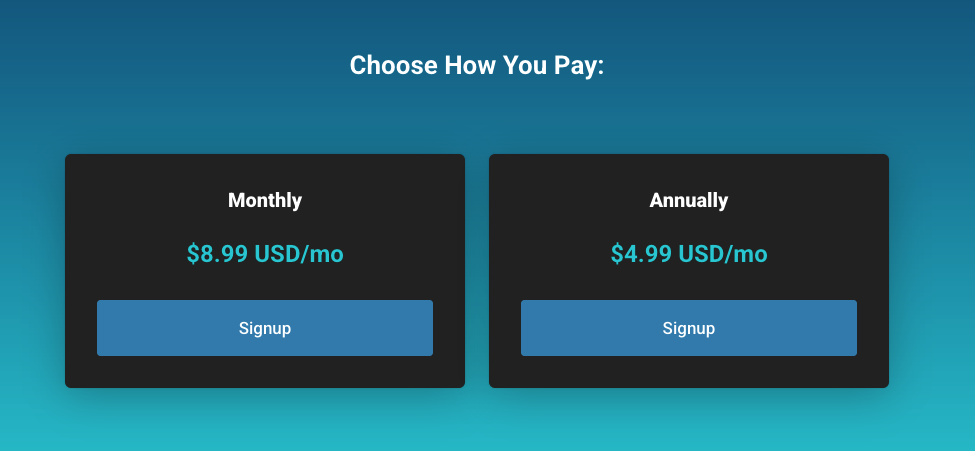
At the bottom of the page, select either Monthly or Annual. -
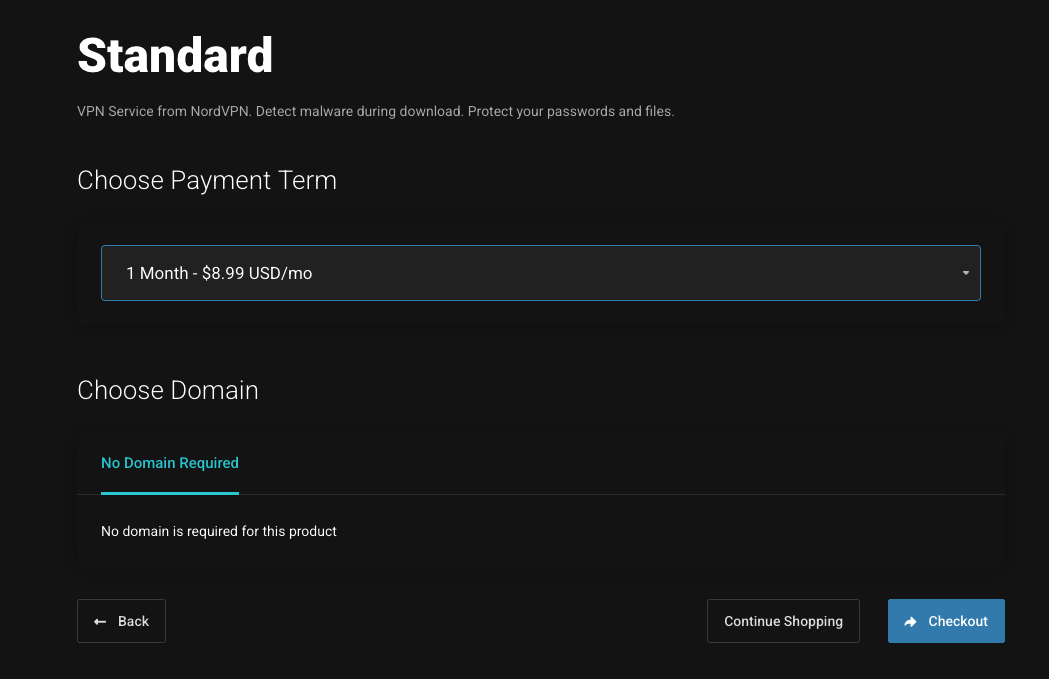
Confirm and checkout
The system will ask you to confirm your payment term. After confirmation, proceed to checkout to complete your purchase.
Part 2: Account Activation and Emails
-
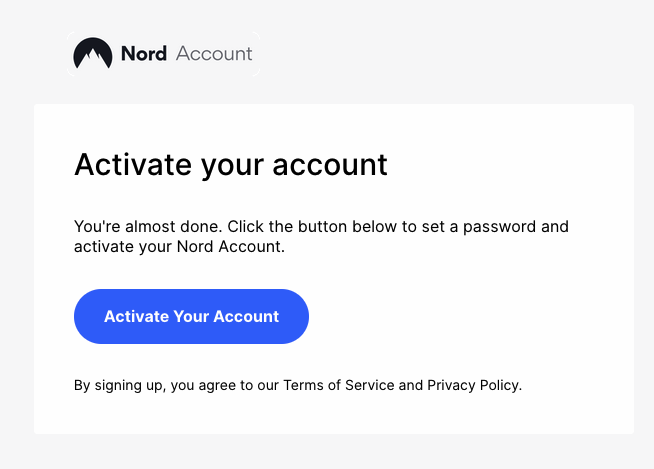
Activate your NordVPN account
You will receive an email directly from NordVPN with the subject “Activate your account.” Click the link in the email to complete your registration and set your password for the NordVPN portal. -
Additional emails
You may receive informational emails from Nubius and NordVPN. These may contain service details, instructions, or promotional information.
Part 3: Accessing NordVPN
-
Go to NordVPN account page
Access your account at https://nordaccount.com/. -
Download the application
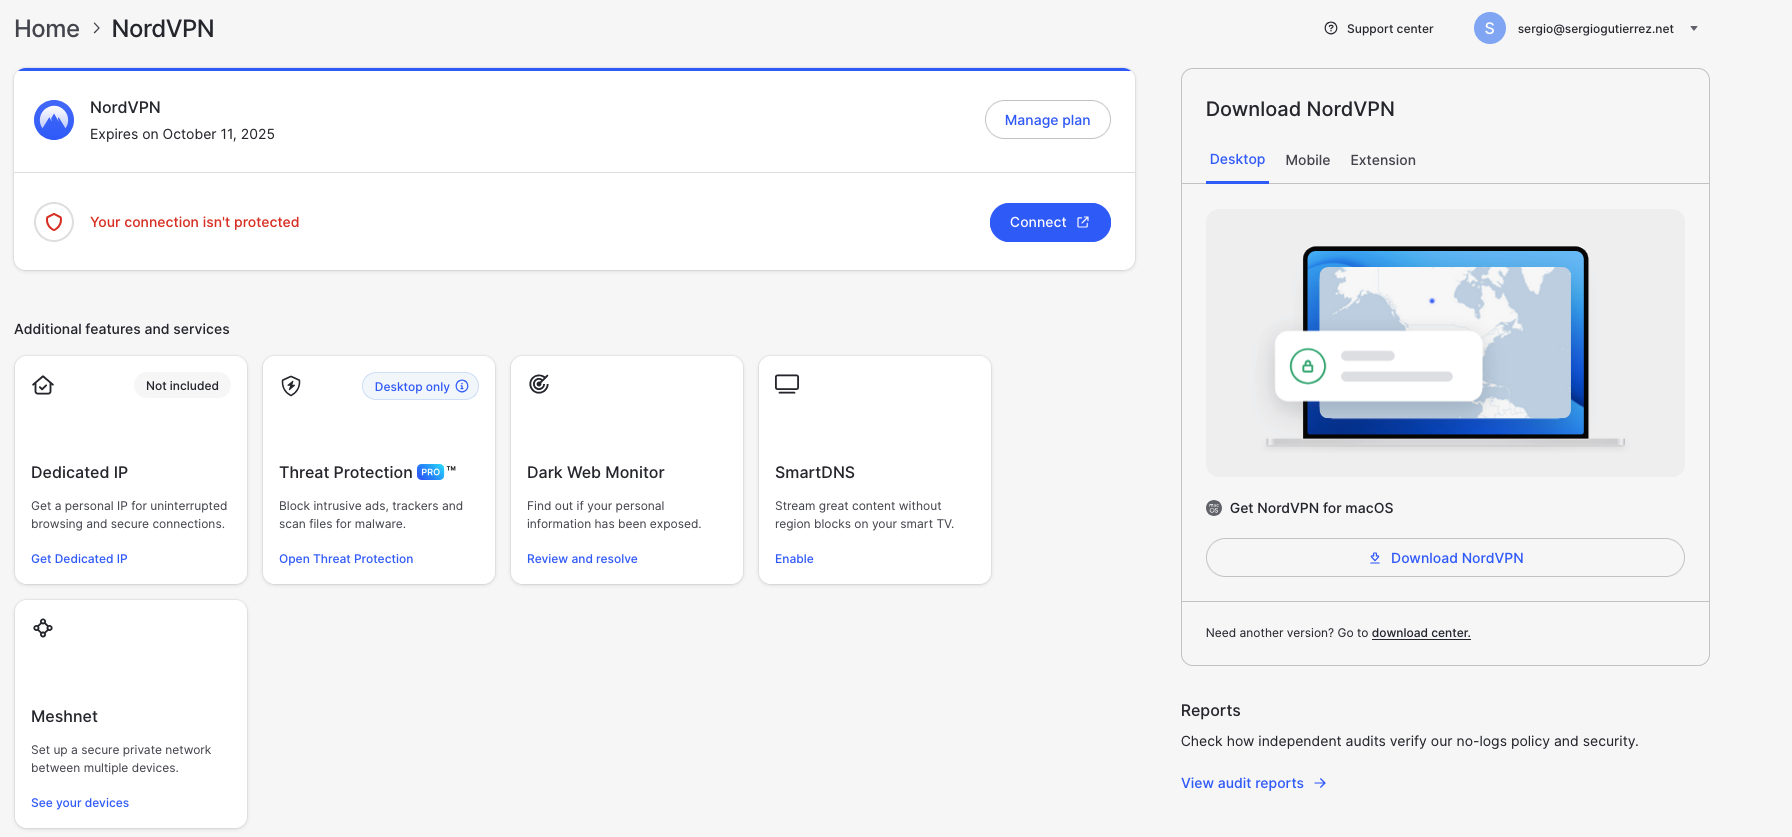
In your NordVPN dashboard, go to NordVPN on the left-hand menu. Here you can:-
Connect using the browser, or
-
Download the NordVPN application for your operating system.
-
-
Install and login
-
Install the application on your computer.
-
Open the app and click Login at the top right.
-
Follow the browser instructions to complete login.
-
-
Connect to VPN
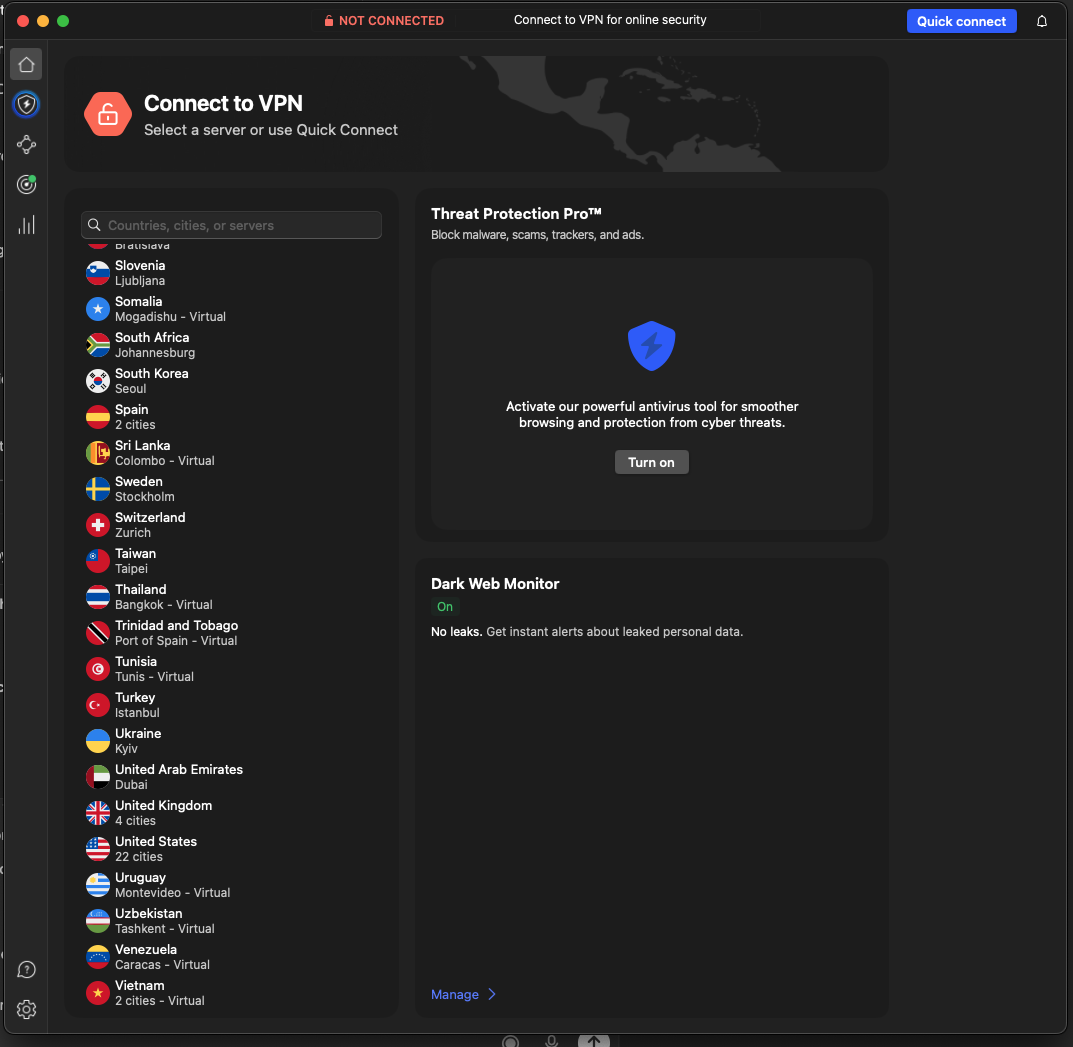
Once logged in, the application will show options to select a location. Choose the desired country or server and click Quick Connect at the top. You are now connected to the internet via NordVPN.
Part 4: Additional Help
For more details and troubleshooting, consult the official NordVPN knowledgebase:
https://support.nordvpn.com/hc/en-us
