1. What is CloudPanel 2?
CloudPanel 2 is a modern, lightweight server control panel optimized for performance, simplicity, and ease of management. It’s perfect for developers, agencies, and businesses looking for a powerful and user-friendly way to host web applications, manage domains, databases, and services.
Some of its most notable features include:
- Support for PHP, Node.js, Python, and Static Sites
- Built-in NGINX, MySQL/MariaDB, Redis, and FTP
- Free Let’s Encrypt SSL certificates
- Powerful File Manager, Cron Jobs, and System Monitoring
- Modern UI with responsive design and real-time dashboards
CloudPanel is especially optimized for cloud environments and ideal for users seeking a fast, secure, and reliable control panel without licensing costs.
2. Getting Your Server with CloudPanel 2
Follow these steps to order a new server with CloudPanel 2 pre-installed on Nubius Cloud Hosting:
Follow these steps to order a new server with ISPmanager pre-installed:
-
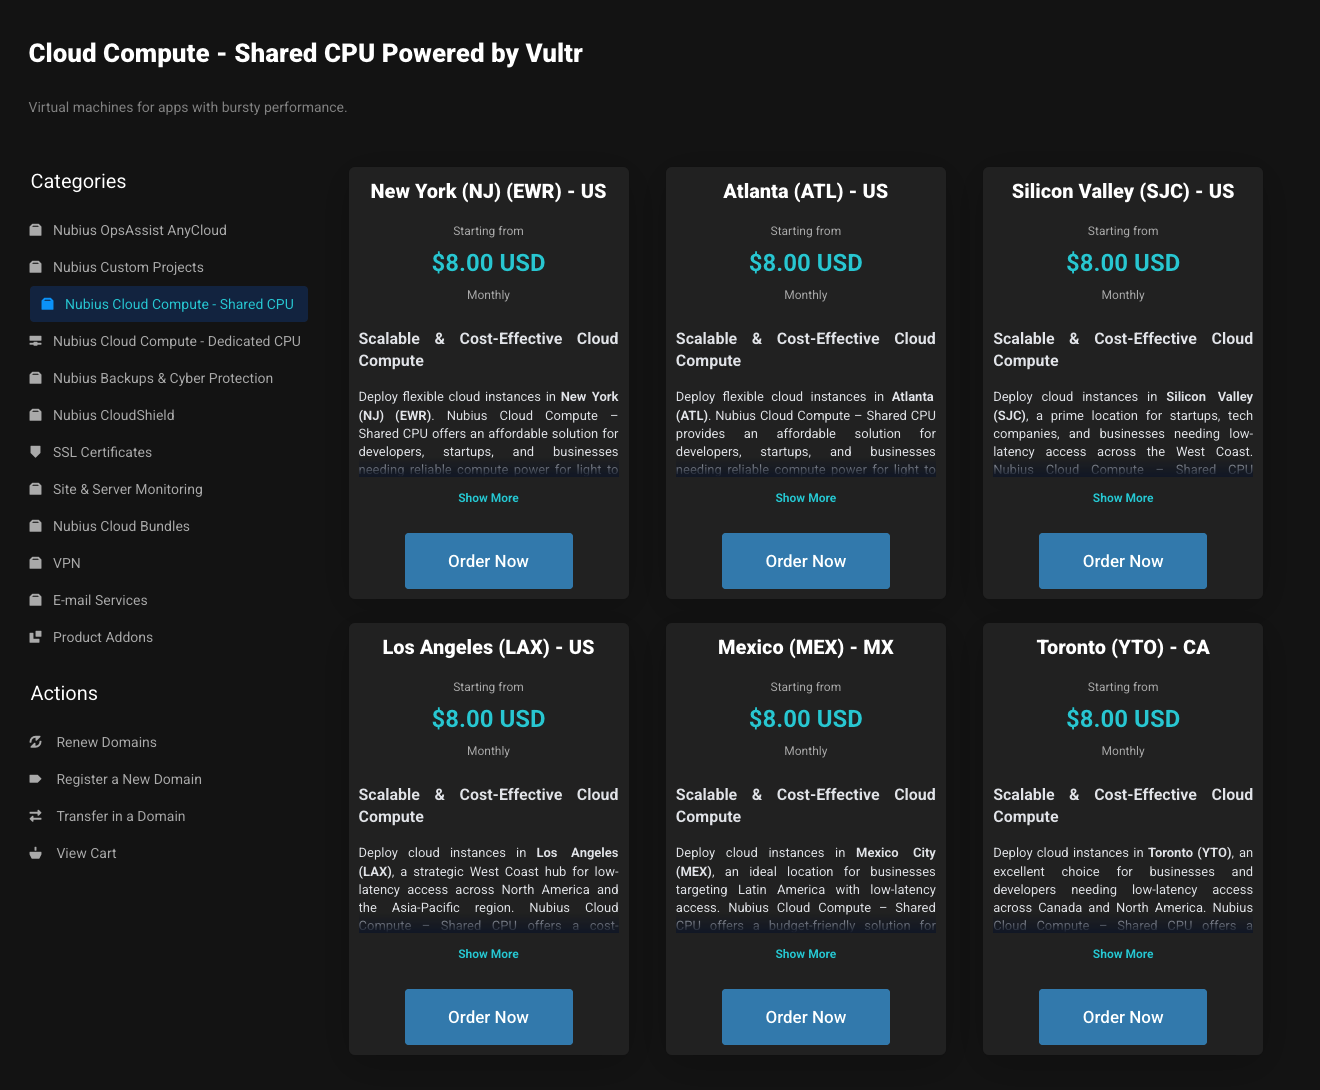
Go to the Nubius Store
-
Choose Your Zone
Select the datacenter location closest to your users:
-
EWR (Newark), ATL (Atlanta), SJC (San Jose), LAX (Los Angeles), MEX (Mexico City) or YTO (Toronto)
-
3. Select the Application
In the Application dropdown, choose CloudPanel 2 – Ubuntu 24.04
4. Select Instance Type & Resources
Choose a server plan with at least 2 GB RAM.
Add storage, or other resources as needed.
5. Enter the Hostname
Provide your server’s FQDN (Fully Qualified Domain Name) – this will be used as the hostname.
6. Complete the Order
Click Continue, select your payment method, accept the terms, and finalize the order.
7. Provisioning
-
Your server will be ready in about 10–15 minutes.
-
It will deploy with a clean Ubuntu 24.04 system and ISPmanager pre-installed.
-
You can monitor the server’s console to see when it is available.
3. Accessing Your CloudPanel 2 Interface
Once the server is ready, connect via browser:
Access URL
Example: https://192.0.2.10:8443
First Login
- On first access, you’ll be prompted to create your Admin User
- Set your username and password
- Log in and start managing your server
You may see a security warning due to a self-signed certificate — click “Advanced → Proceed” to continue.
4. What You Can Do With CloudPanel
After login, you can:
- Deploy Sites (PHP, Node.js, Python, Static)
- Issue SSL Certificates (Let’s Encrypt)
- Upload Files using the built-in File Manager
- Add Users and set access levels
- Restart Services, manage databases, view logs
- Monitor Resources with real-time metrics
Need Help?
Our team is here to assist.
Reach out via Ticket at https://portal.nubius.io/submitticket.php?step=2&deptid=3 or by emailing support@support.nubius.io our team can help you with any of the following:
-
Server setup
-
DNS pointing and SSL
-
Backup configuration (Requires Acronis Services)
-
General CloudPanel usage


