1. What is ISPmanager?
ISPmanager is a powerful and user-friendly hosting control panel that allows you to manage your web server through a graphical interface. It simplifies many system administration tasks, making it easier to host websites, manage domains, configure mail, and handle databases without needing to rely only on command-line tools.
Benefits of ISPmanager
-
Simple Interface – Intuitive and easy to navigate even for beginners.
-
Full Control – Manage domains, email accounts, FTP users, and databases.
-
Flexible Configuration – Support for PHP versions, DNS, mail domains, and SSL certificates.
-
Automation – Helps automate routine hosting tasks and reduce errors.
-
Scalability – Works for personal projects, business websites, or managing multiple clients.
Licensing
Licensing for ISPmanager is not included with your Nubius server.
-
You must purchase your license directly from ISPmanager.
-
Once purchased, you can activate the license inside your control panel.
-
If you need assistance, you can reach out to Nubius Support/Billing, and we will guide you on how to obtain and activate your license.
Minimum System Requirements
-
Recommended: 2 GB RAM (stable performance)
-
Minimum: 1 GB RAM (but may cause performance issues and out-of-memory errors)
-
Sufficient disk space depending on the websites and applications you plan to run.
2. Getting Your Server with ISPmanager
Follow these steps to order a new server with ISPmanager pre-installed:
-
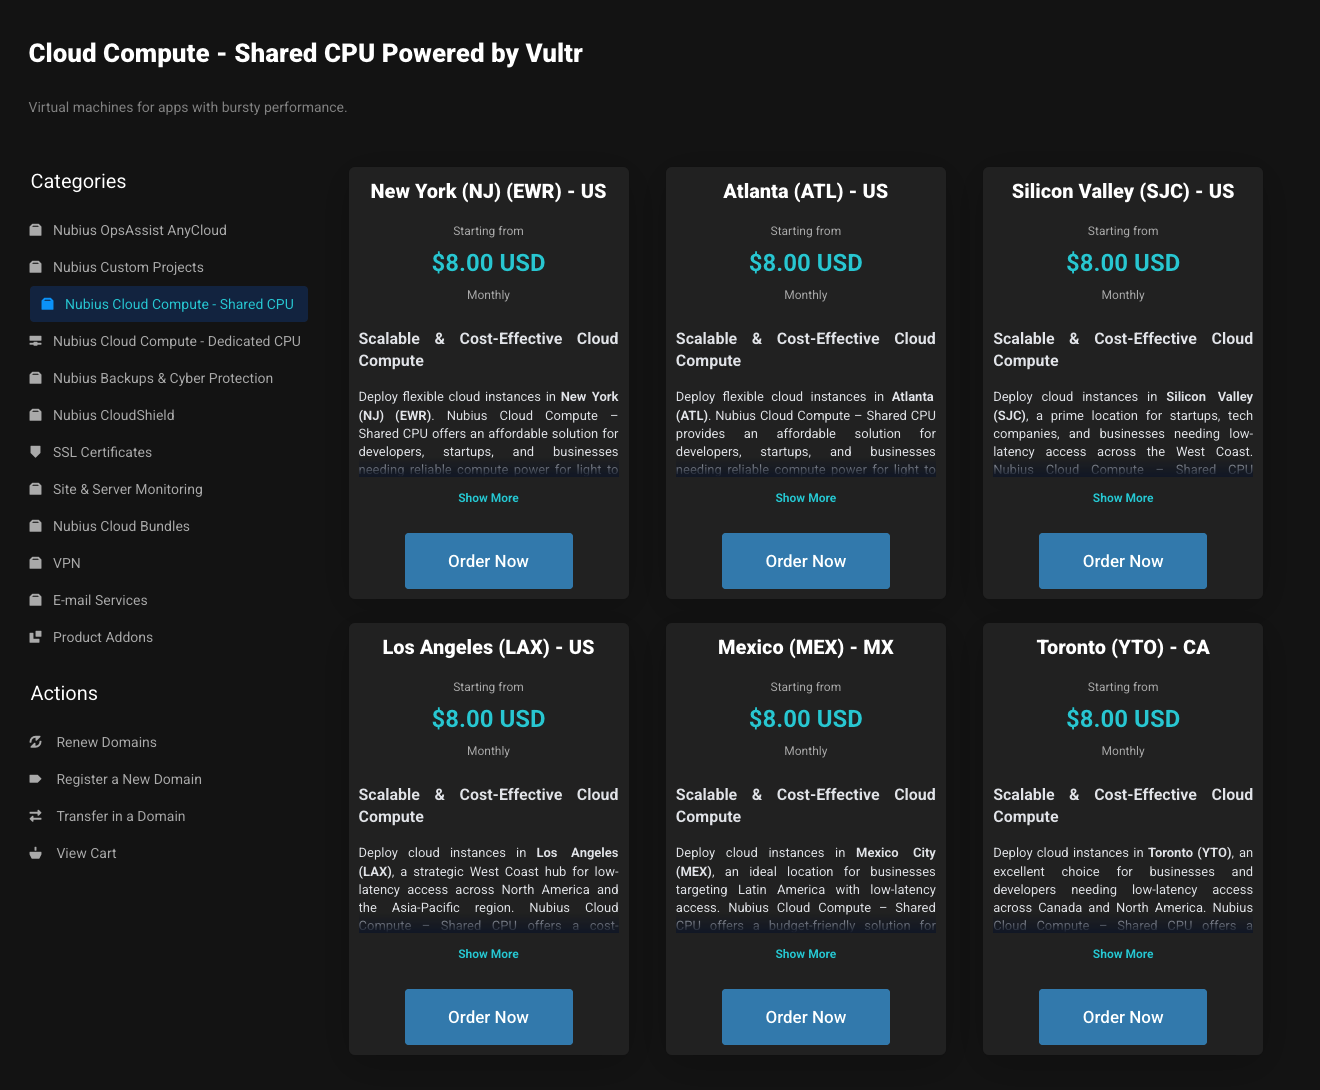
Go to the Nubius Store
-
Choose Your Zone
Select the datacenter location closest to your users:
-
EWR (Newark), ATL (Atlanta), SJC (San Jose), LAX (Los Angeles), MEX (Mexico City) or YTO (Toronto)
-
-
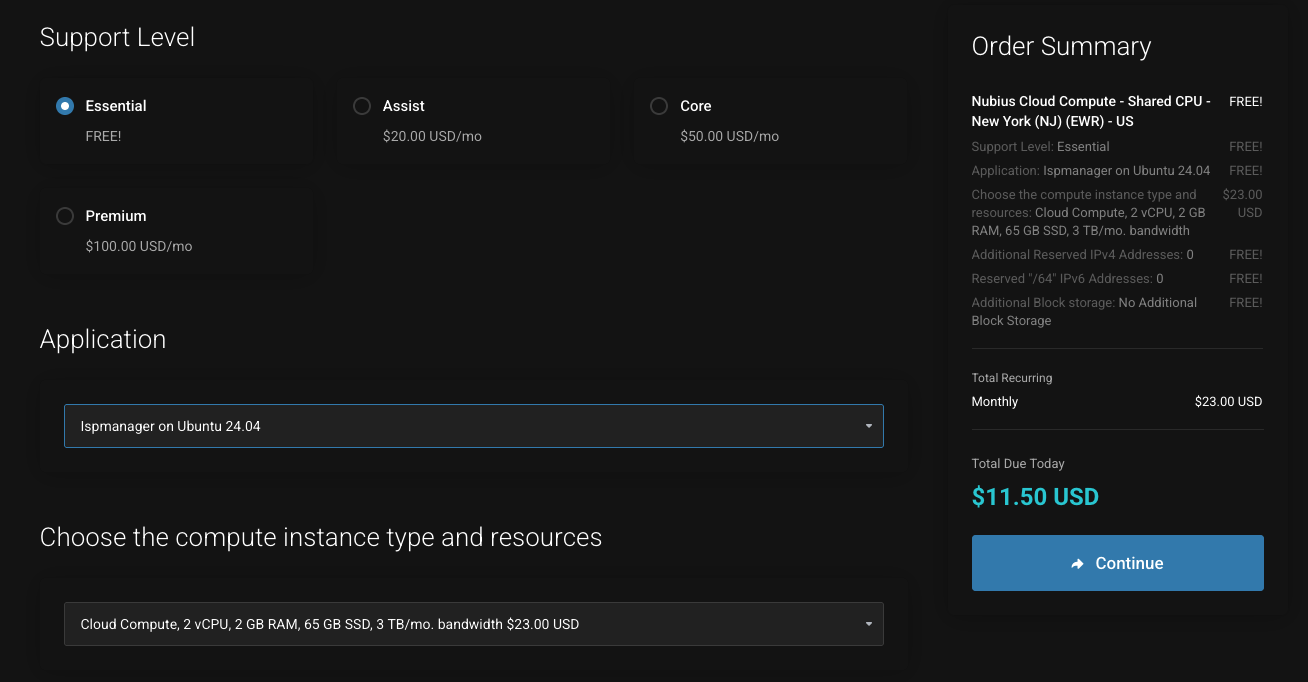
Select the Application
-
In the Application dropdown, choose ISPmanager on Ubuntu 24.04.
-
-
Select Instance Type & Resources
-
Choose a server plan with at least 2 GB RAM.
-
Add storage, or other resources as needed.

-
-
Enter the Hostname
-
Provide your server’s FQDN (Fully Qualified Domain Name) – this will be used as the hostname.

-
-
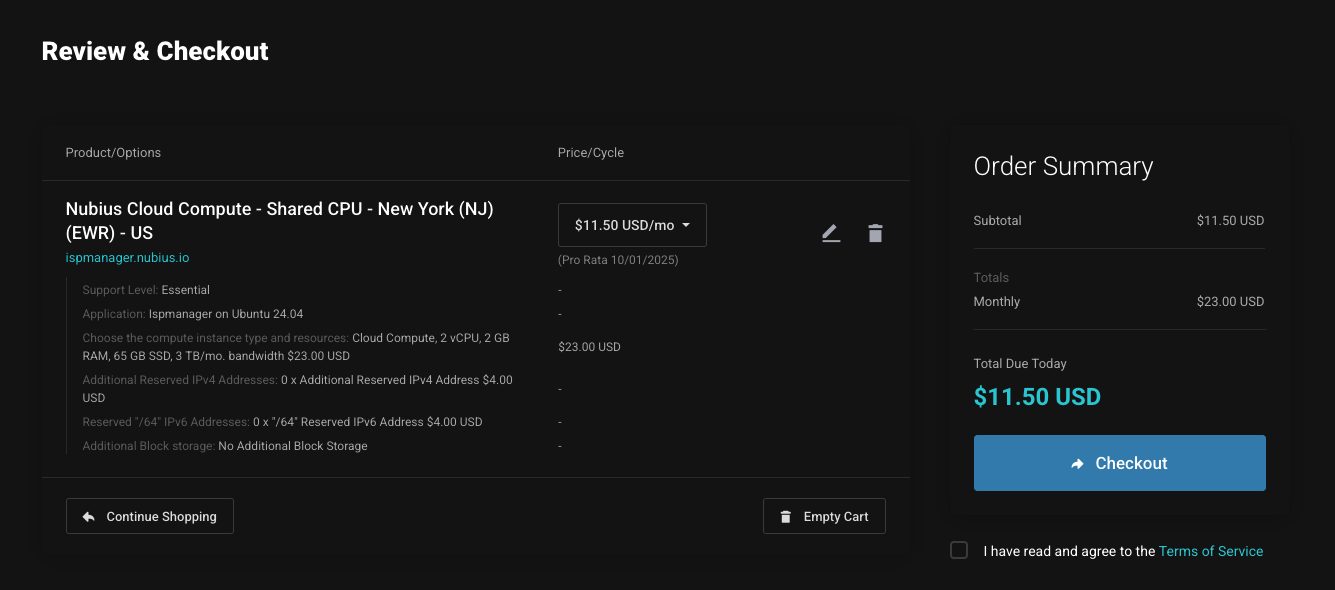
Complete the Order
-
Click Continue, select your payment method, accept the terms, and finalize the order.
-
-
Provisioning
-
Your server will be ready in about 10–15 minutes.
-
It will deploy with a clean Ubuntu 24.04 system and ISPmanager pre-installed.
-
You can monitor the server’s console to see when it is available.
-
3. Managing Your Server & Logging into ISPmanager
-
Access Your Service
-
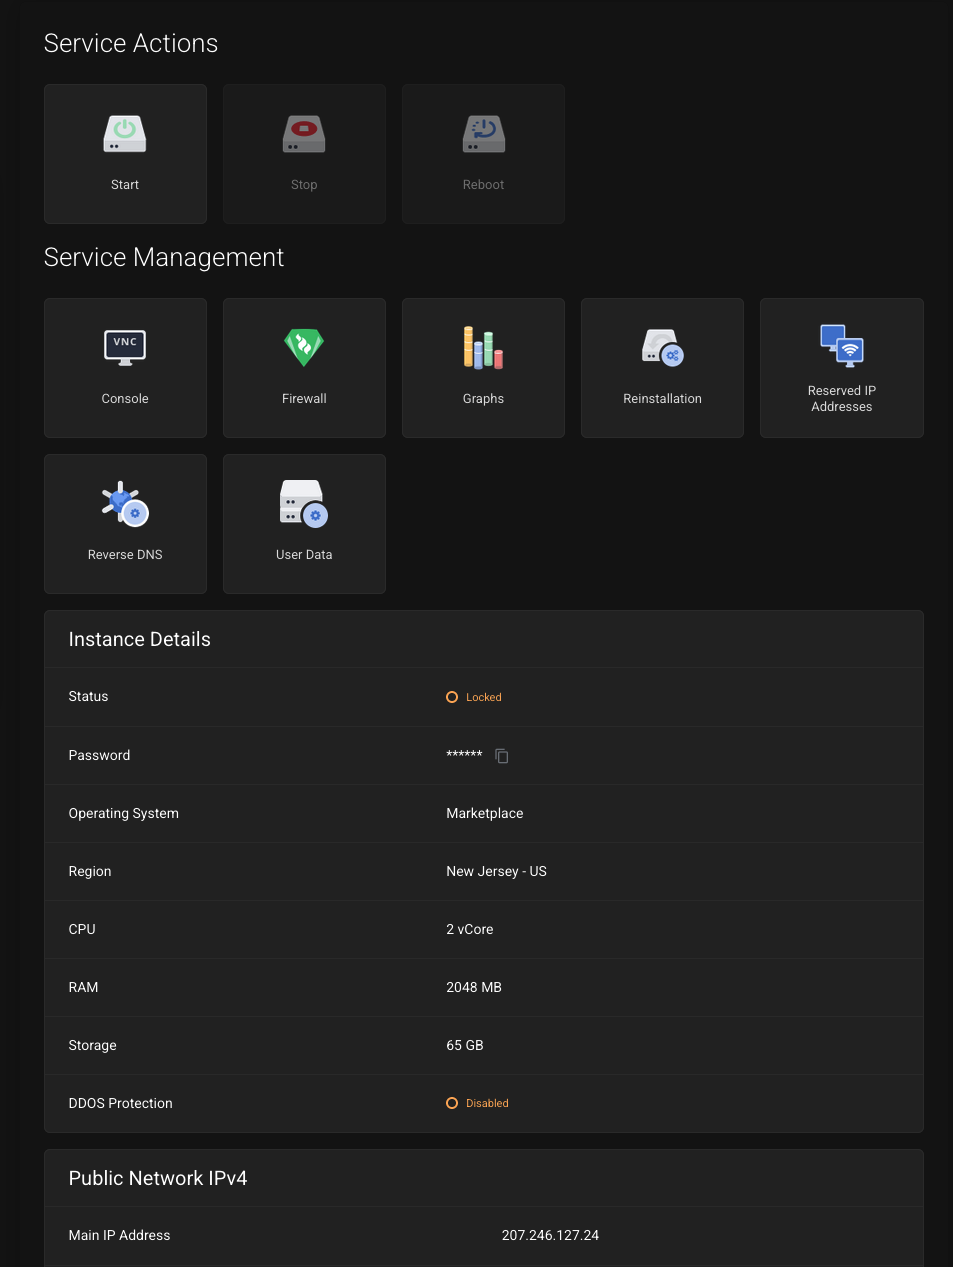
In the portal, go to My Services → select the Cloud Compute server you created.
-
You’ll see controls, server status, credentials, public IP, and access to the VNC console.
-
While provisioning, the server shows as Locked. Once finished, it will show as Running.
-
-
Open ISPmanager
-
Go to: https://your.public.ip:1500/ (i.e. https://207.246.127.24:1500/)
-
Replace your.public.ip with your server’s public IP.
-
Always use HTTPS.
-
-
SSL Warning
-
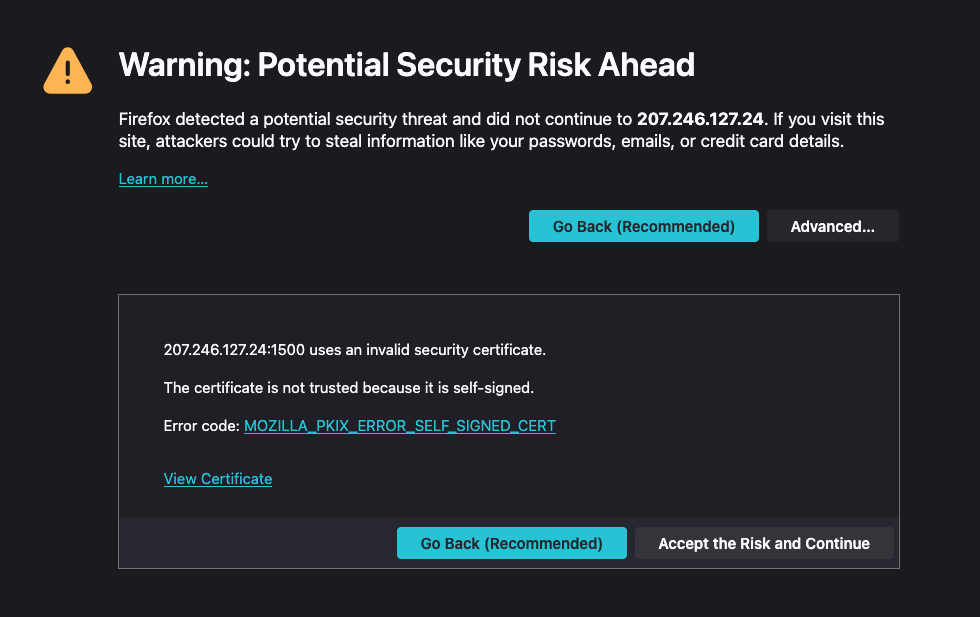
Your browser will warn about the SSL certificate mismatch (since you are using the public IP).
-
Click Advanced → Accept the Risk and Continue (the wording may vary depending on Chrome, Firefox, Safari, Edge, etc.).
-
-
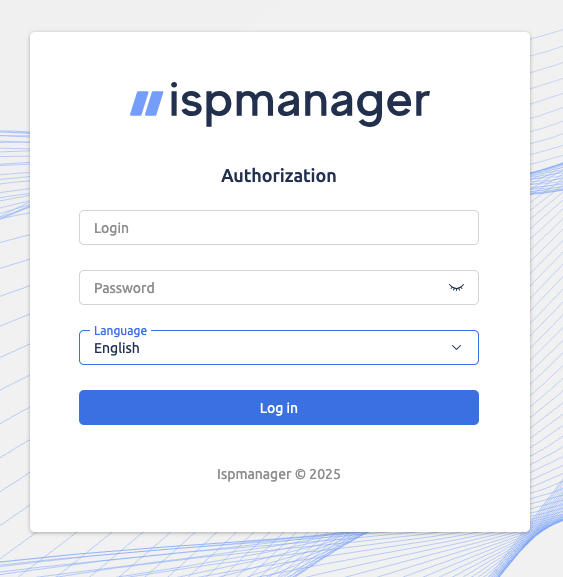
Login
-
Use the credentials provided in the service details.
-
-
First Login Setup
-
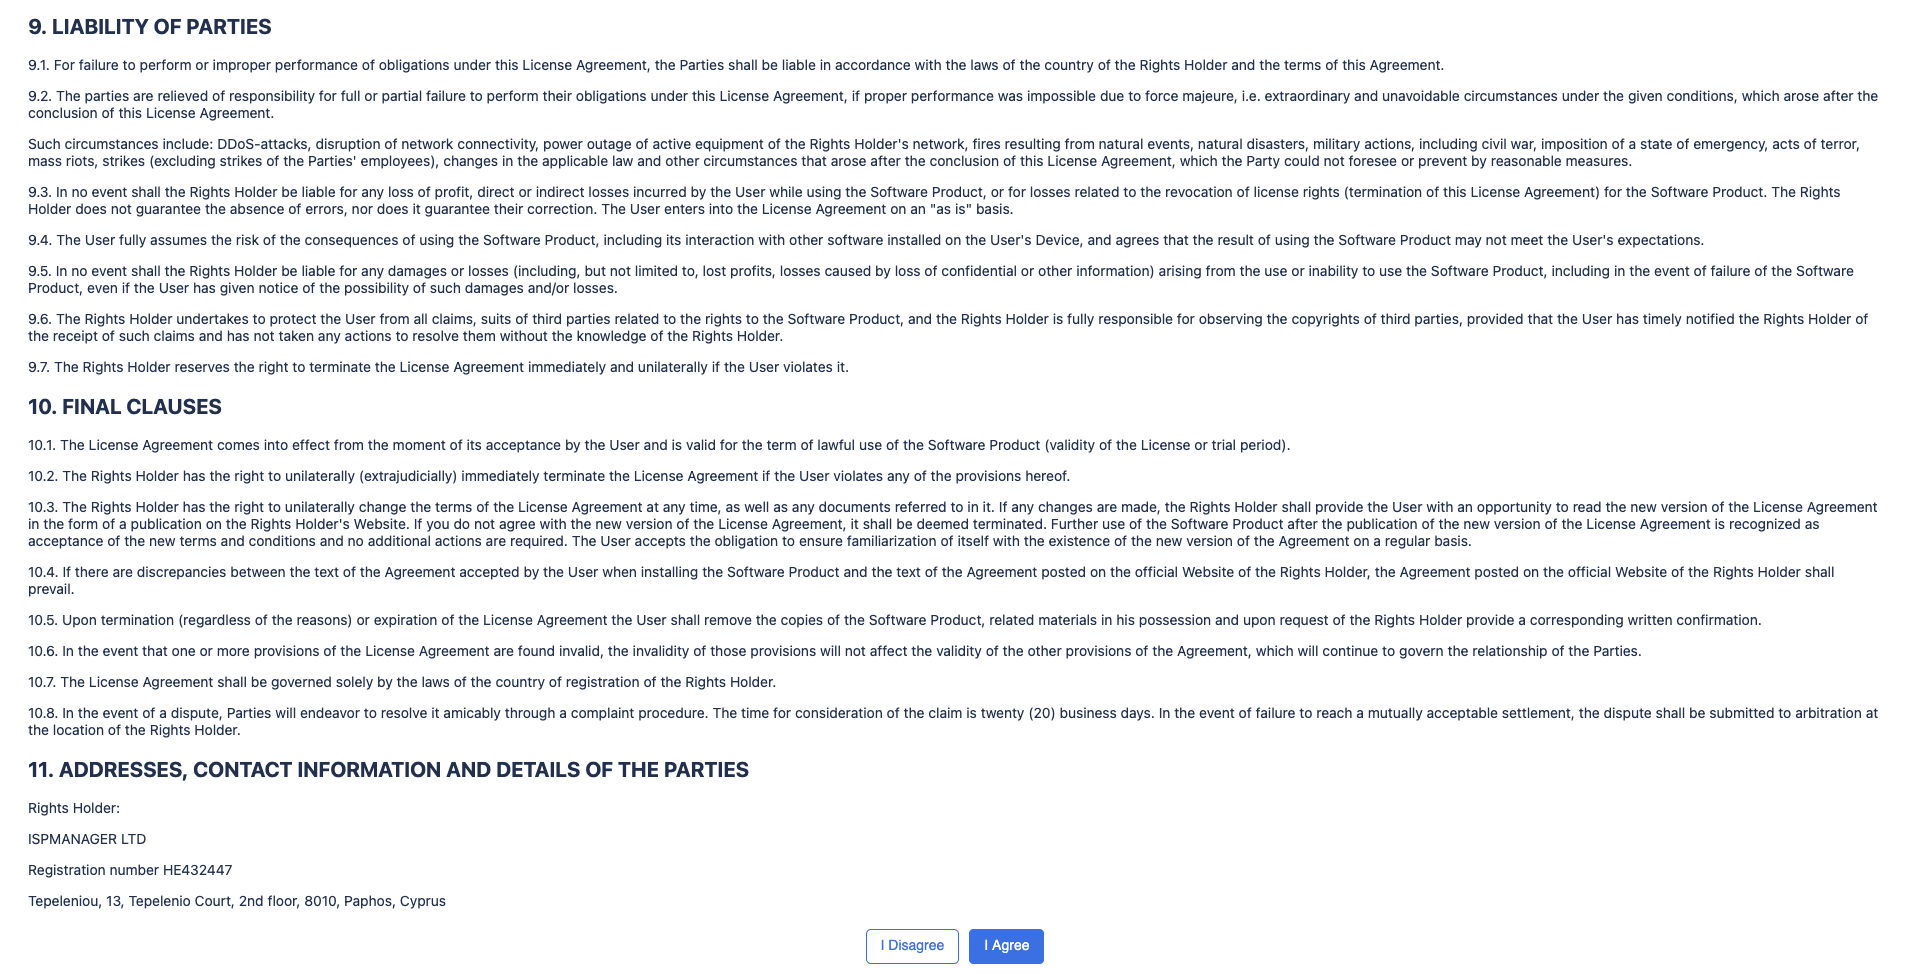
Accept the User Agreement by scrolling down and selecting I Agree.
-
-
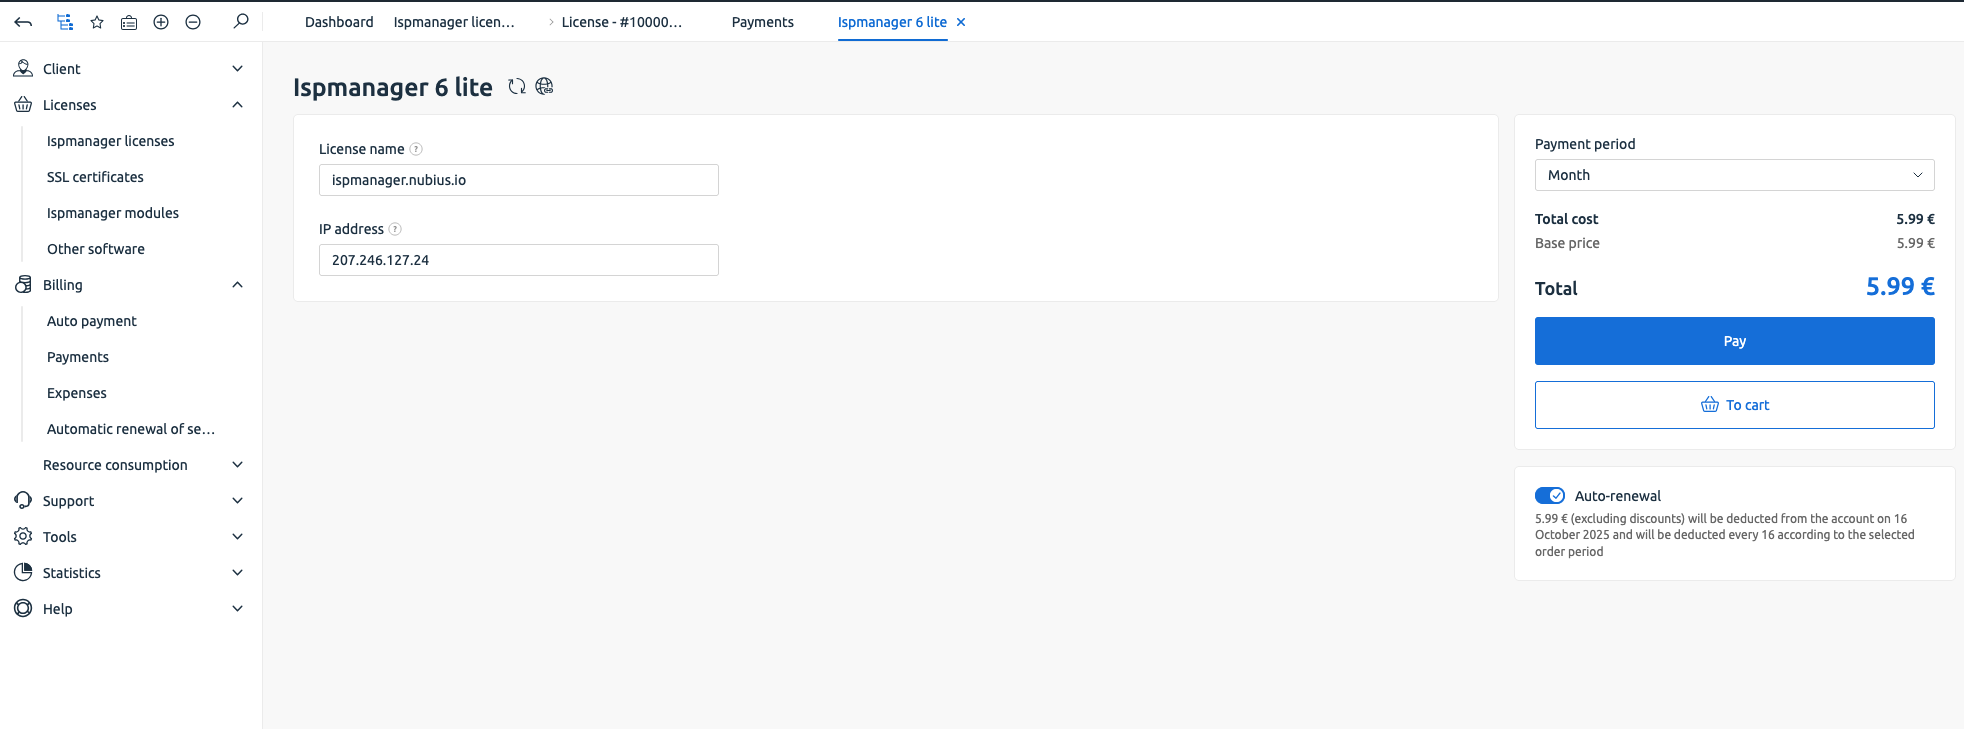
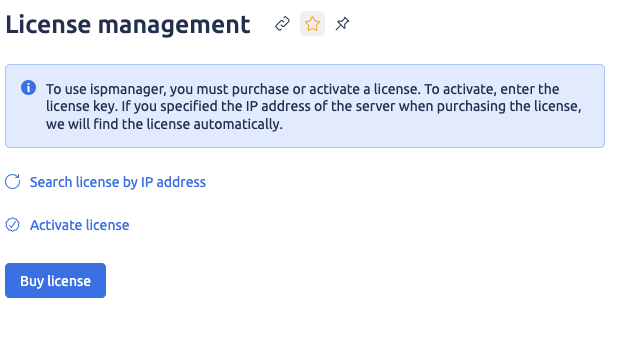
Activate Your License
-
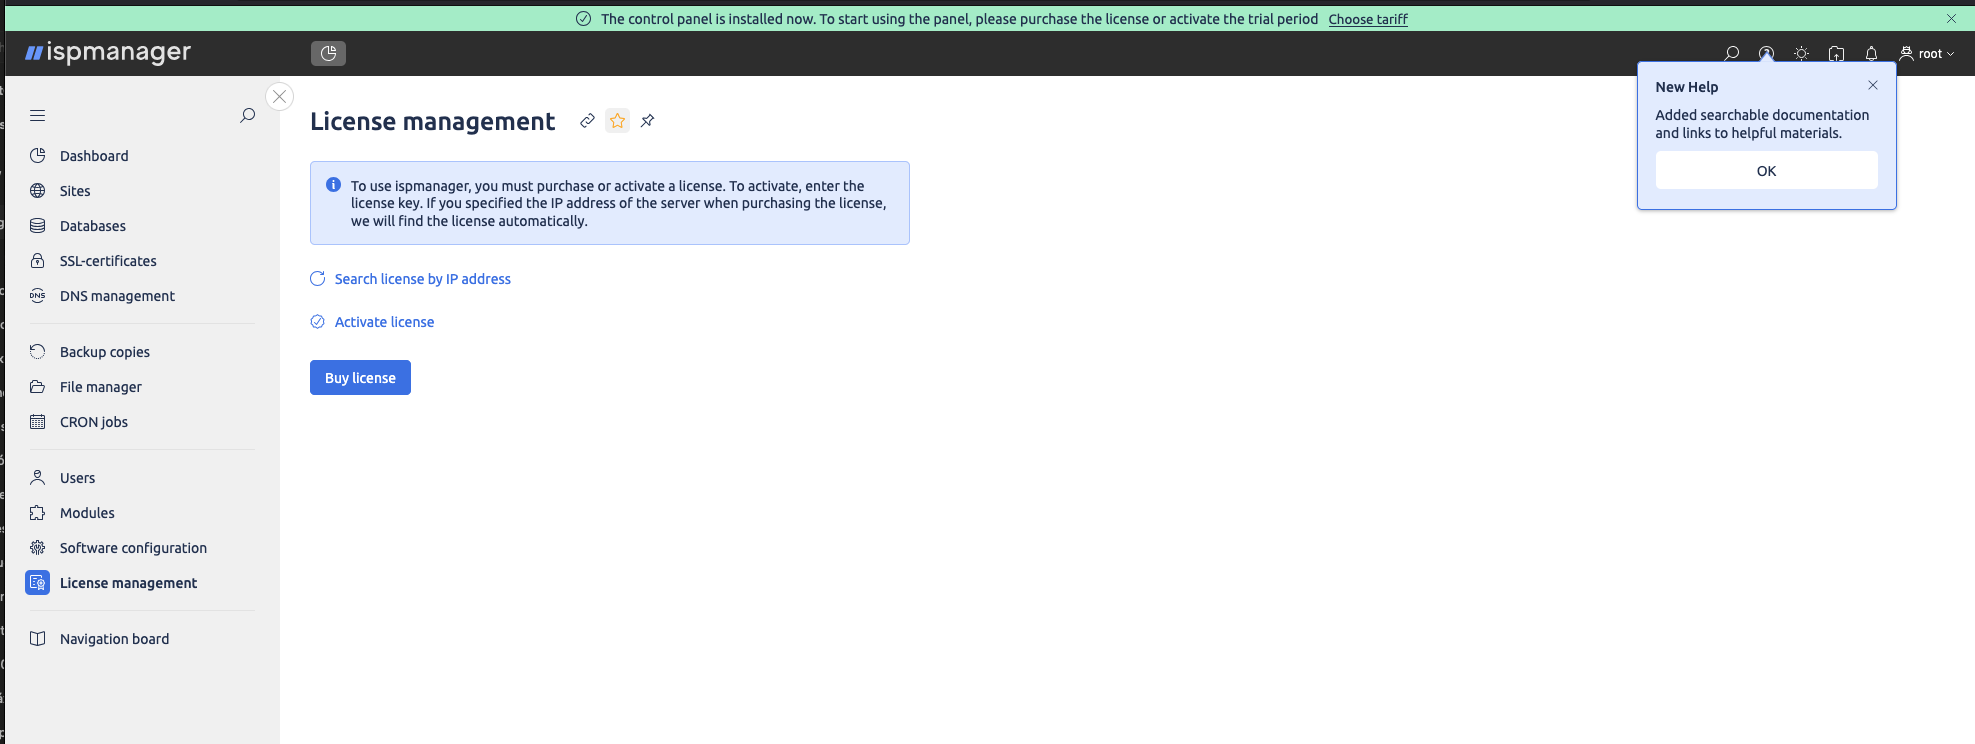
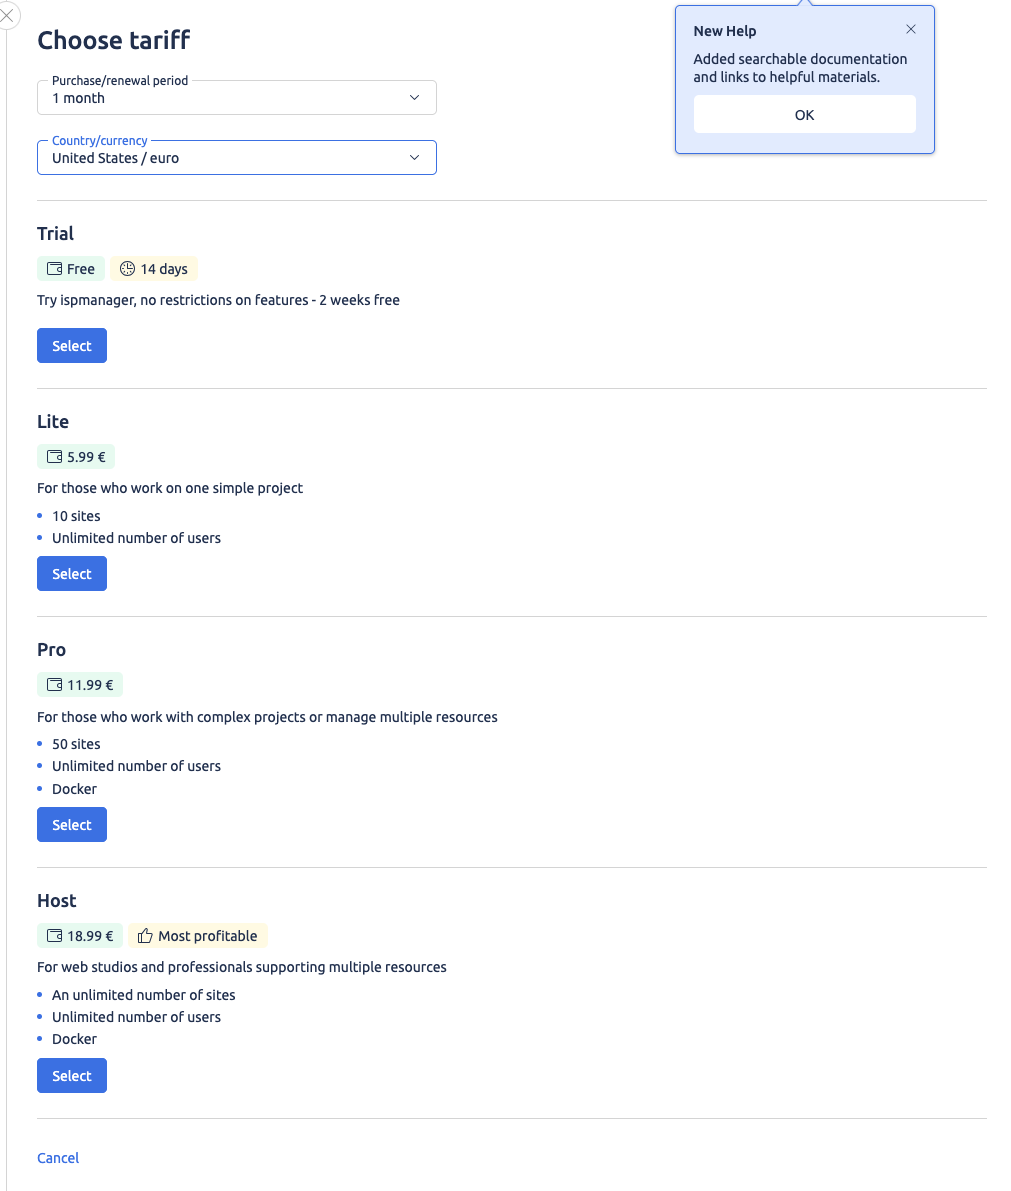
You will see a banner: Choose Tariff.
-
Select your region (United States/Euro), billing cycle, and license type.
-
For most users, Lite is the recommended choice.
-
You may also start with a 14-day trial.
-
-
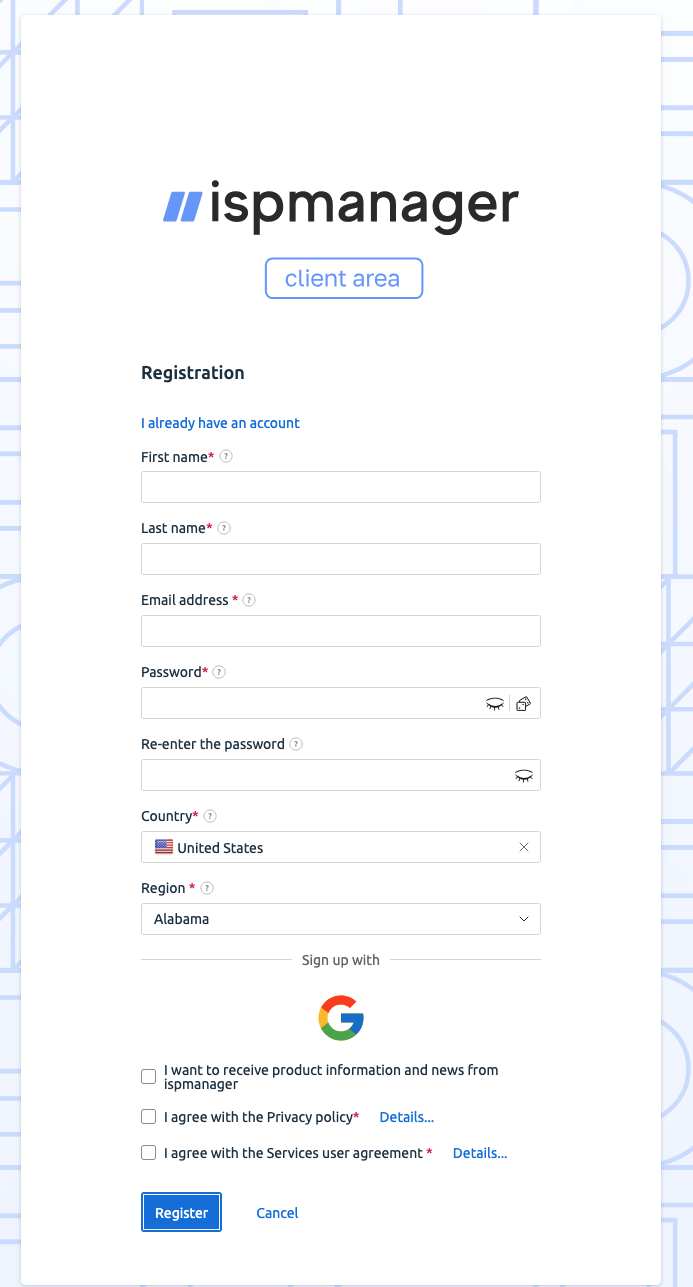
Register with ISPmanager
-
If you don’t already have an account, you’ll be redirected to register.
-
Purchase and assign the license.
-
Once activated (usually a few minutes), return to your server’s panel and click Activate License.
-
-
Start Using ISPmanager
-
You now have full access to configure your new server.
-
4. Tips for Using ISPmanager
-
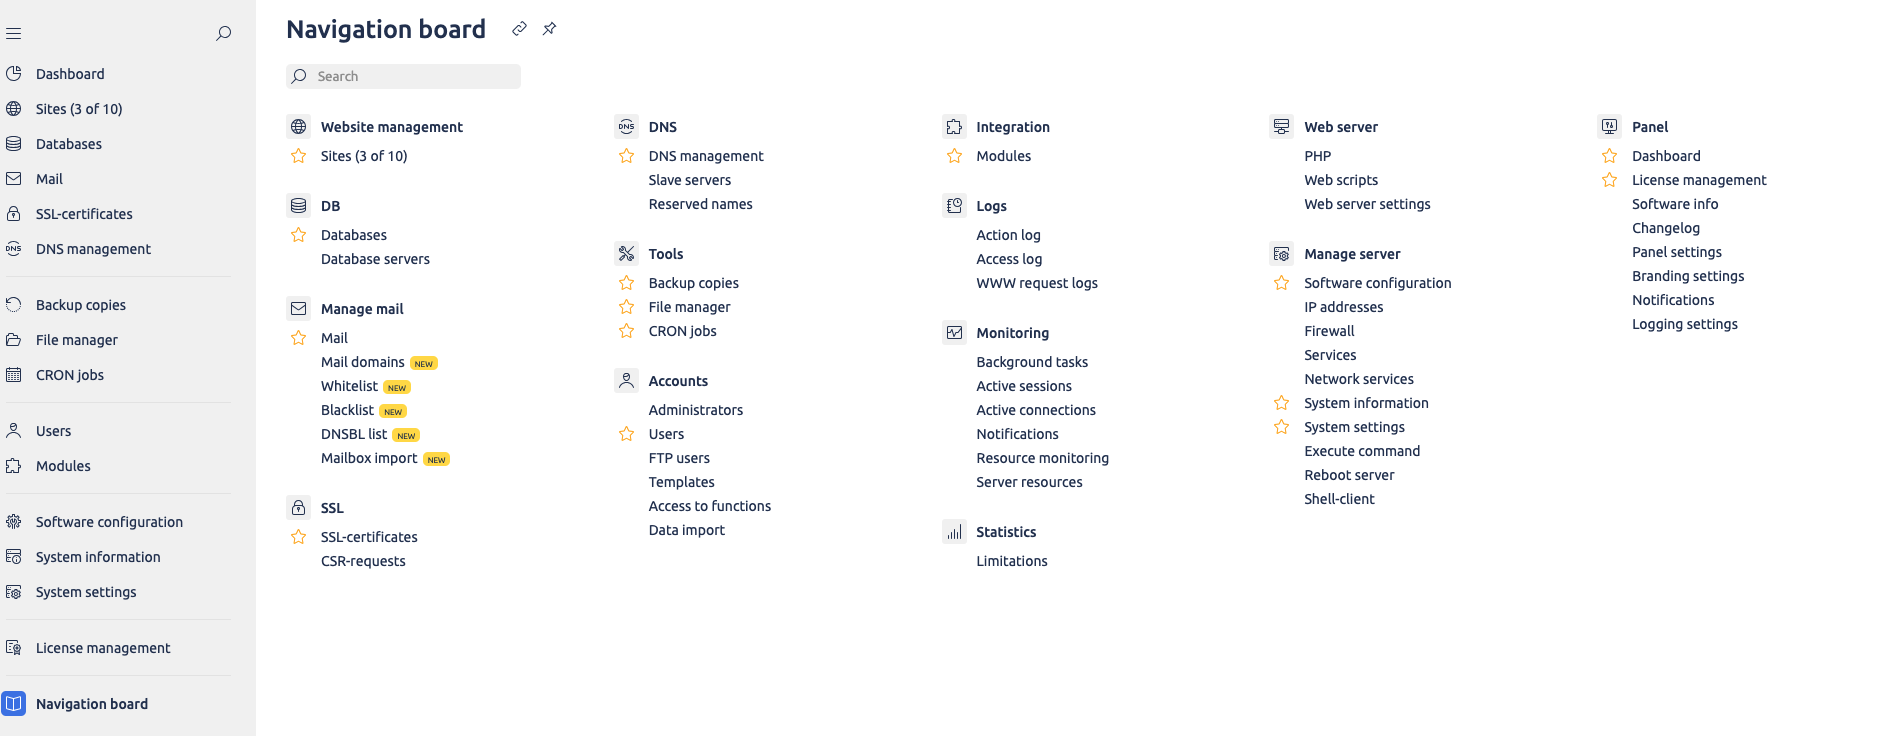
Customize Your Navigation Board
-
On the left-hand menu, go to Navigation Board.
-
Star the most-used features (PHP, DNS Management, Mail Domains, etc.) to pin them for quick access.
-
-
Centralize Licenses
-
If you deploy more servers, you can manage all ISPmanager licenses under the same ISPmanager account.
-
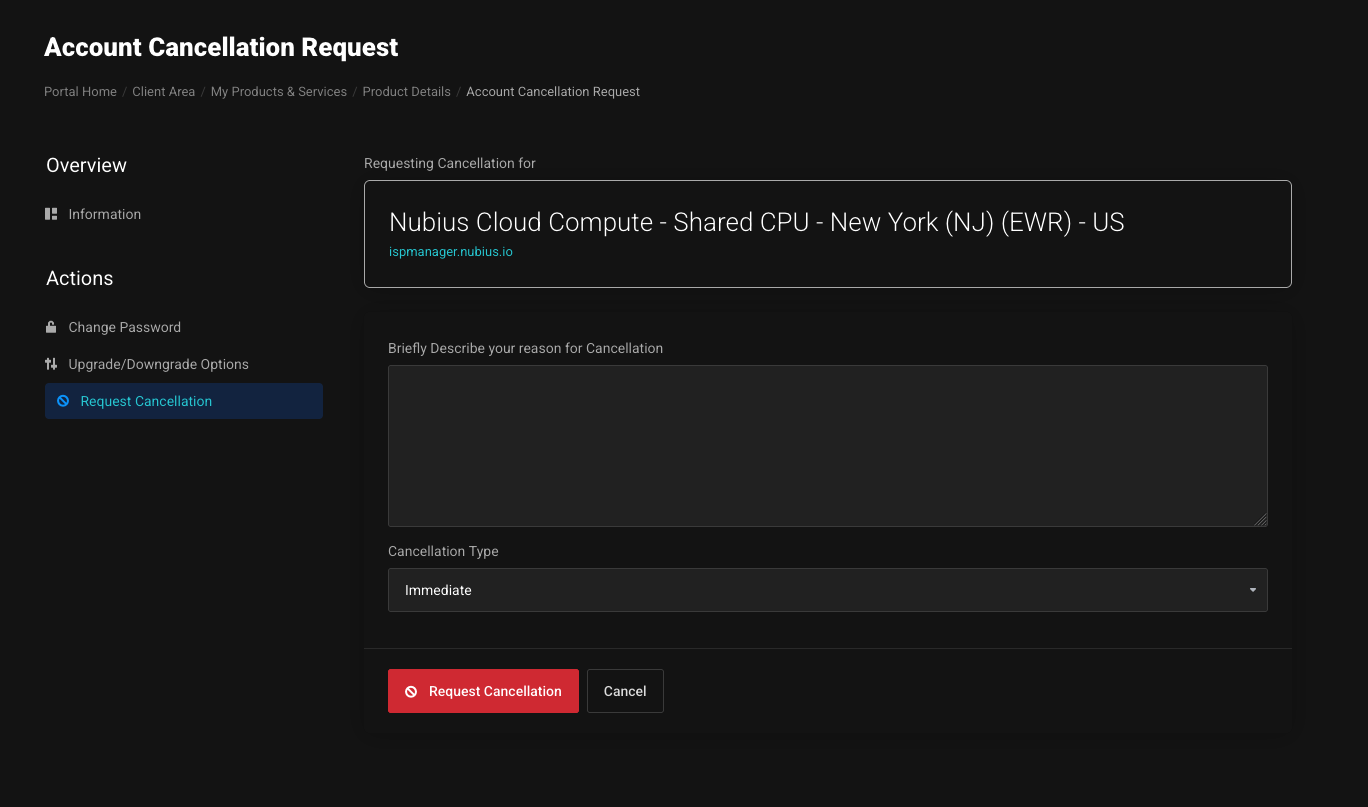
5. Cancelling Your Server
If you no longer need your server:
-
Go to your server’s page in the portal.
-
On the left-hand menu, click Request Cancellation.
-
Enter the reason and select whether you want cancellation at the end of the billing period or immediately.
-
Submit your request.
-
Nubius will process the termination based on your selection.


