This guide explains the full process of purchasing SpamExperts through the Nubius Solutions customer portal and configuring it to protect your domain.
Part 1: Ordering SpamExperts
-
Go to the Nubius Solutions portal
Navigate to portal.nubius.io. -
Access the store
-
If you are not logged in, go to Products.
-
If you are logged in, go to Store.
-
-
Select Email Services
From the store menu, choose E-mail Services. -
Choose your service
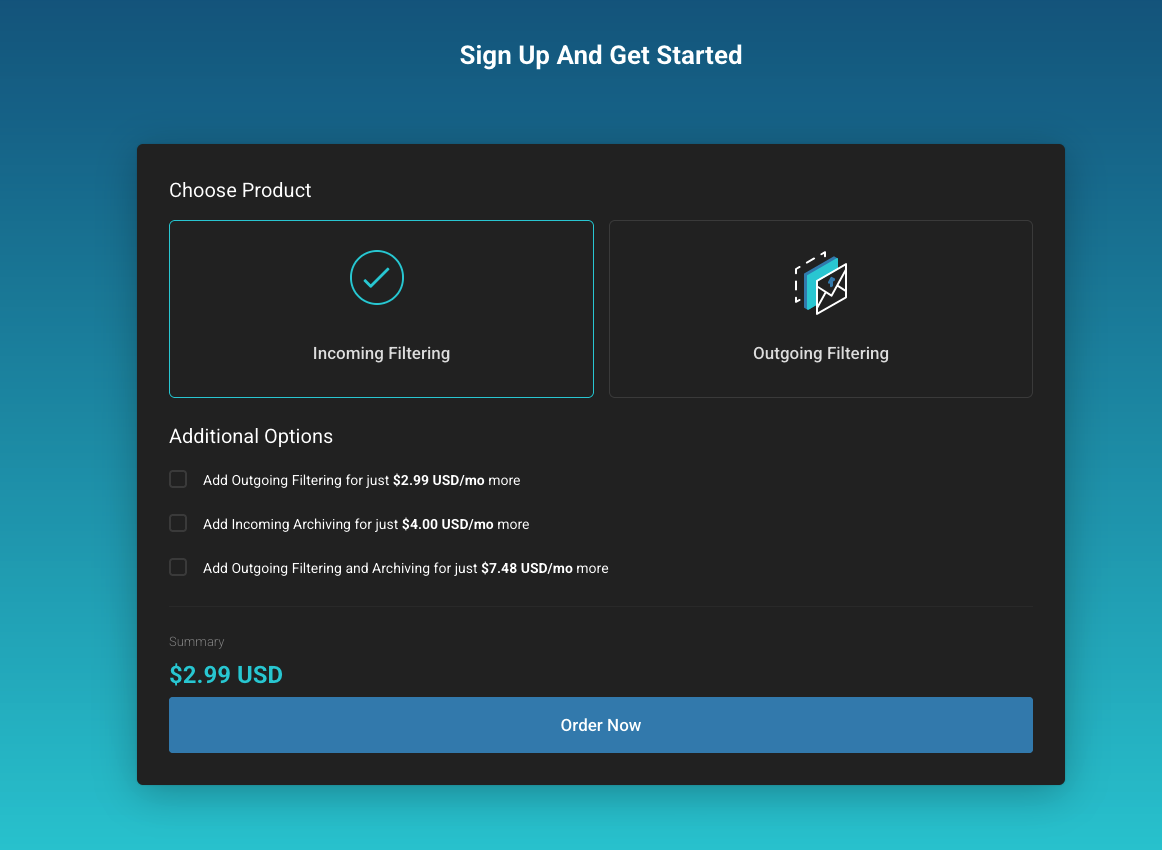
At the bottom of the page, select the service you want to order:-
Incoming Filtering
-
Outgoing Filtering
-
Email Archiving
Click Order Now.
-
-
Enter your domain
Provide the domain you want to protect.Important: The domain must not already exist in another SpamExperts account with a different vendor, otherwise automatic setup will fail.
-
Complete the order
Follow the checkout process to finalize your purchase.
Part 2: Configuring SpamExperts
-
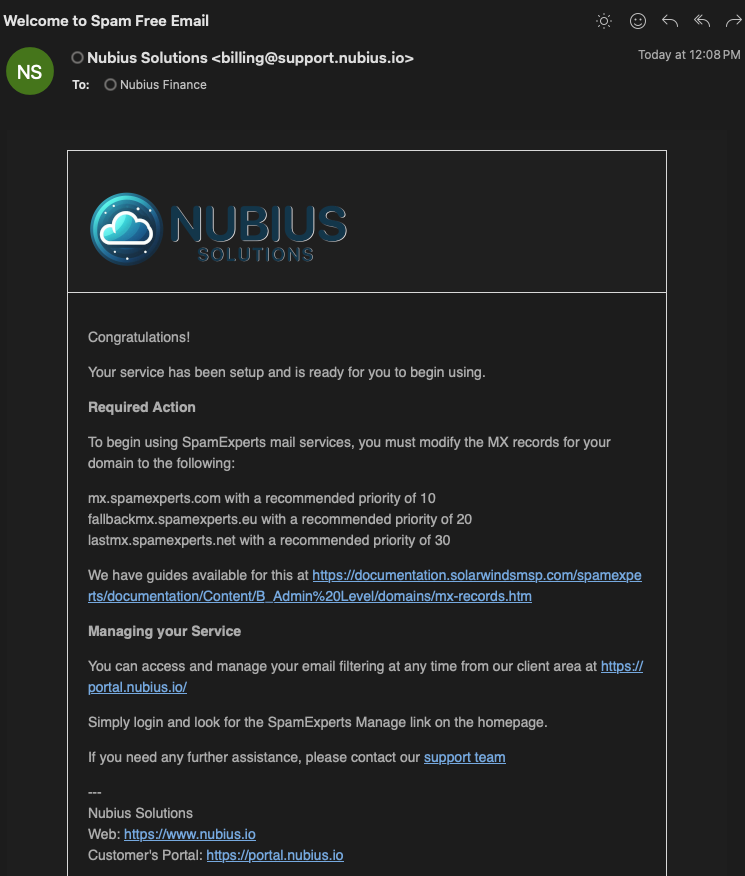
Check your welcome email
After purchase, you will receive an email titled "Welcome to Spam Free Email". This email contains the required MX records:-
mx.spamexperts.com with priority 10
-
fallbackmx.spamexperts.eu with priority 20
-
lastmx.spamexperts.net with priority 30

-
-
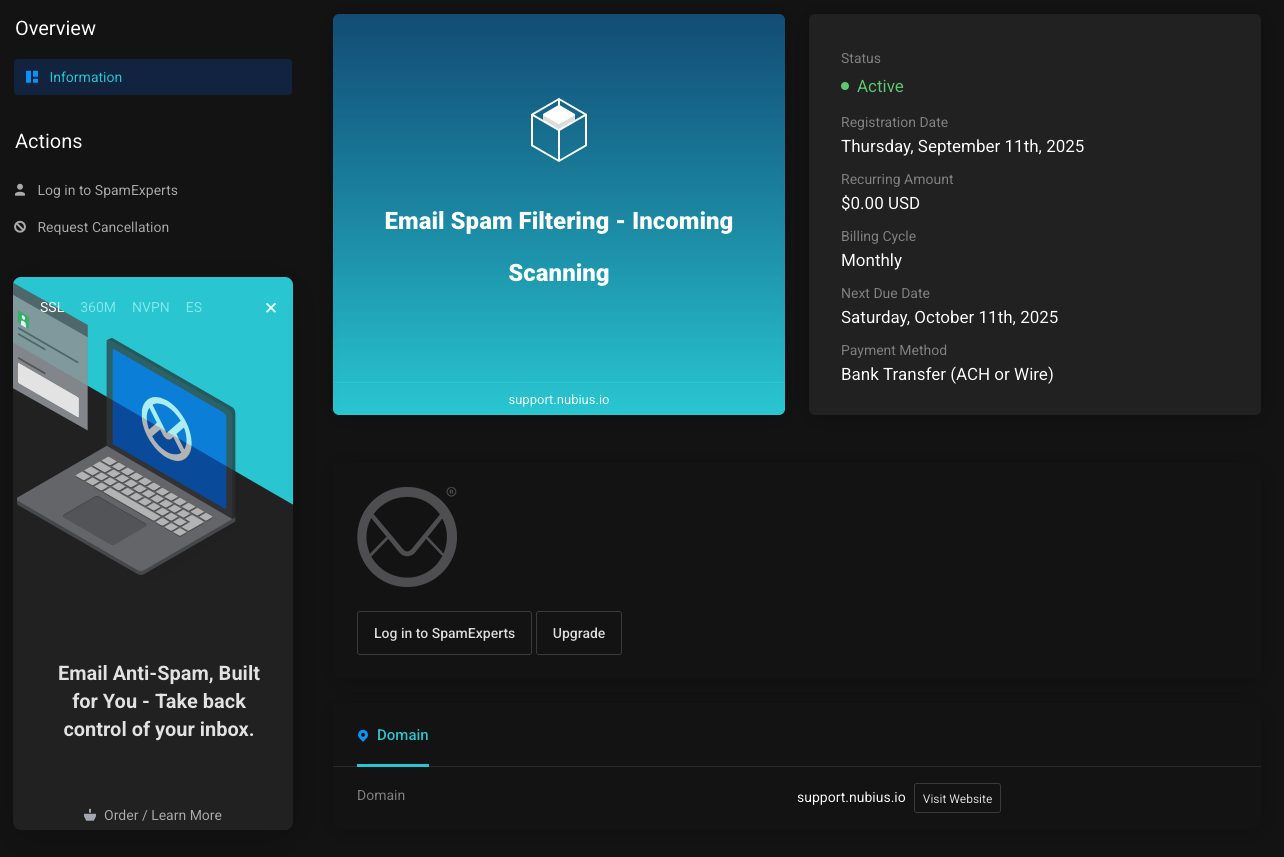
Login to SpamExperts
-
Go to Services → Email Spam Filtering → Login to SpamExperts from your Nubius portal.

-
-
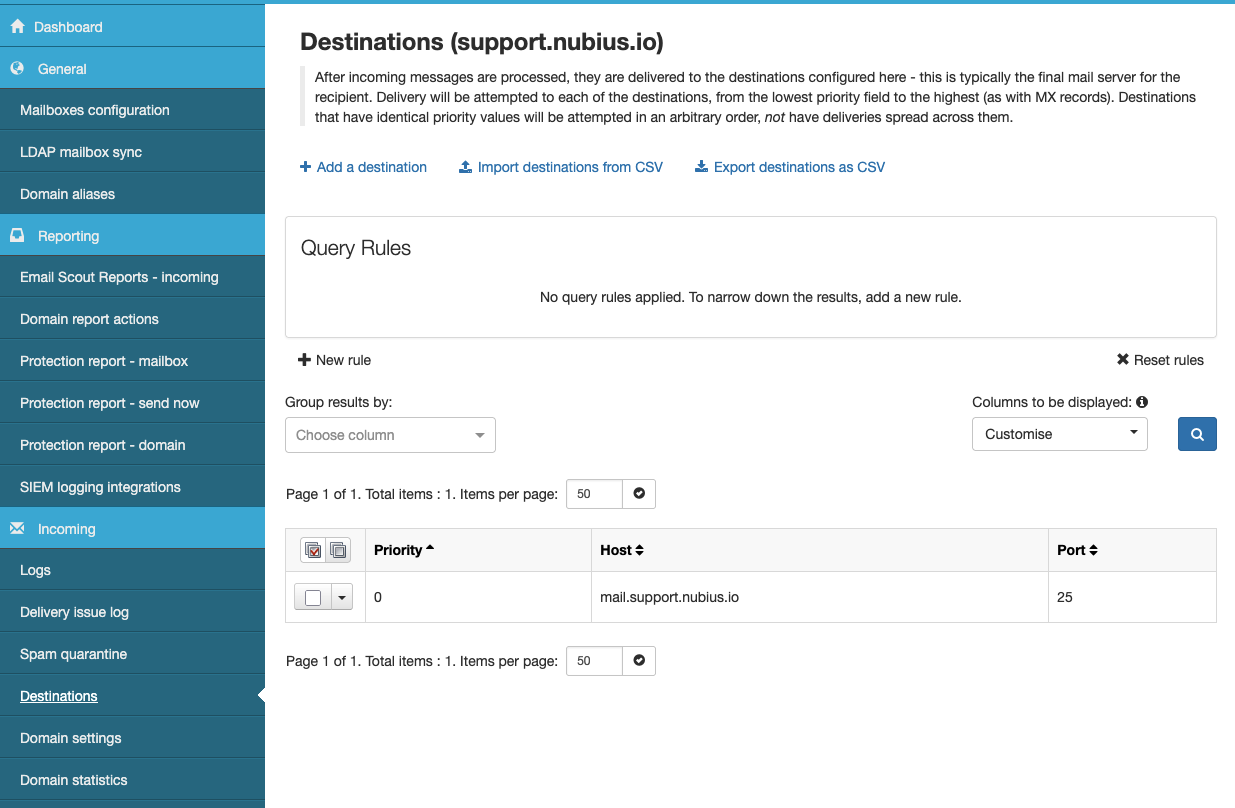
Verify destinations
In SpamExperts:-
Go to Incoming → Destinations from the left-hand menu.
-
If your domain already had MX records, SpamExperts will add that as a route.
-
Adjust this so the destination is the IP or FQDN of your actual mail server.

-
-
Update DNS records
Update your domain’s MX records at your DNS provider to match the MX records provided in your welcome email. -
Test delivery
Send a test email to verify that mail is now flowing through SpamExperts to your server.
Notes
-
Some mail servers (such as Exim) require additional adjustments to work properly with SpamExperts.
-
For Exim4 under Ubuntu with ISPmanager, see the detailed guide:
Configuring Exim4 with ISPmanager (Vultr) and SpamExperts Incoming Filtering


